Dark/Light Mode Switcher
We will be looking at how to toggle between light and dark mode on your website.


Photo by Trent Erwin on Unsplash
Table of contents
The dark mode is not a compulsory feature for a site, but it helps improve the User experience. It has also become very popular in recent years as companies have begun to add it to make night users and those with bright screens benefit. Today we will find out how to create it for our own sites. Here are the previews of what the final project looks like or check out the working preview here.
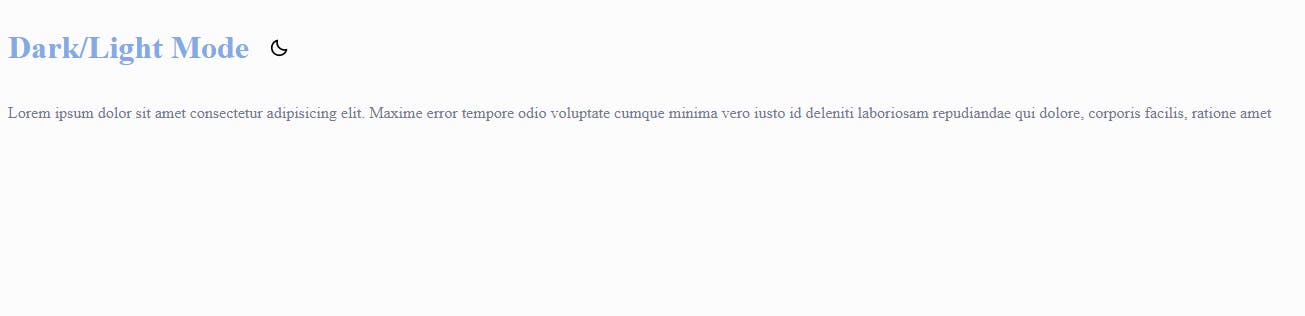 Light Mode.
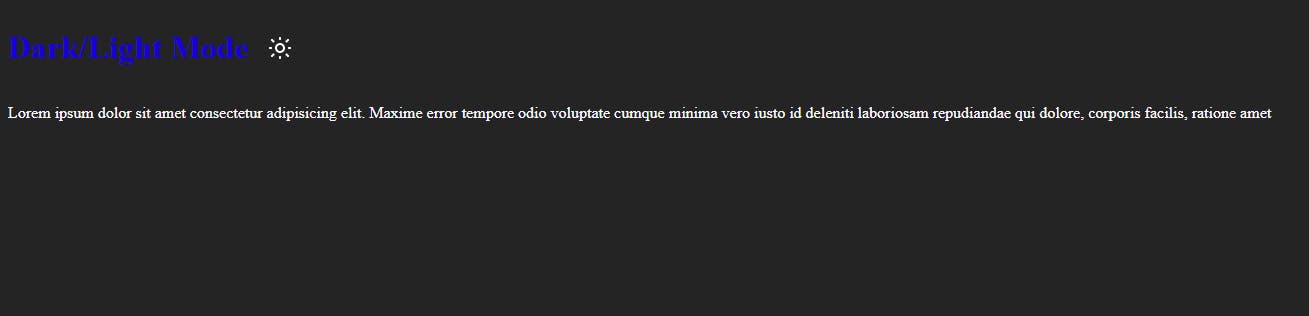 Dark Mode
HTML SNIPPET.
The first thing we need to do is create our HTML file. Your HTML file should store the content you want to toggle the design for. Here is my example below, the image tag is what we will target in other to toggle between modes.
<main>
      <header>
        <h1>Dark/Light Mode</h1>
        <img src="./image/moon.png" alt="sun" class="sun" id="icon" />
      </header>
      <p>
        Lorem ipsum dolor sit amet consectetur adipisicing elit. Maxime error
        tempore odio voluptate cumque minima vero iusto id deleniti laboriosam
        repudiandae qui dolore, corporis facilis, ratione amet
      </p>
    </main>
CSS SNIPPET
In your CSS file, you can style your site according to your desire. We will be making use of the CSS Variables (Custom Properties) to store the image colors.
:root {
    --bg-color: #FCFCFC;
    --h1: #83A9E6;
    --text:#777a92;
}

/* How it is used */
body {
    background-color: var(--bg-color);
}
Then we create a class called dark-mode (it can be called anything you want). In this class, we will use the same names in our CSS Variables properties, the only difference is we change the colors according to how we want the dark theme to look.
.dark-mode {
    --bg-color: #252424;
    --h1: #1800DA;
    --text:#FCFCFC;
}
Then we go ahead and style the site, and add the colors with variable names according to the colors we want to toggle through. Here is the complete CSS file.
:root {
    --bg-color: #FCFCFC;
    --h1: #83A9E6;
    --text:#777a92;
}
.dark-mode {
    --bg-color: #252424;
    --h1: #1800DA;
    --text:#FCFCFC;
}
/* How it is used */
body {
    background-color: var(--bg-color);
}
main {
    width: 100vw;
    margin: auto;
}
header {
    display: flex;
    align-items: center;
}
h1 {
    color: var(--h1);
    margin-right: 20px;
}
p {
    color: var(--text);
}
JavaScript SNIPPET
The first thing we do is access the Icon that will be responsible for the toggle. const icon = document.querySelector("#icon"); . Then we add an event listener, in this case, it will be a click event that performs an action once a click happens.
The function checks if the body tag (which is the entire content of or HTML file) has a class of "dark-mode" and then it toggles the site colors to take that off the dark mode or vice versa depending on what mode the site is currently on. And because we are using an image icon to indicate the mode we want to change, we have to switch between the icon type using an if-else statement.
const icon = document.querySelector("#icon");

icon.addEventListener('click',function () {
  document.body.classList.toggle("dark-mode");
  if (document.body.classList.contains("dark-mode")) {
    icon.src = "./image/sun.png";
  } else {
    icon.src = "./image/moon.png";
  }
})
Conclusion
The introduction of dark mode has brought a lot of advantages and it will be great if as a frontend developer you know how to create this amazing User experience. You can check the source code on Github.